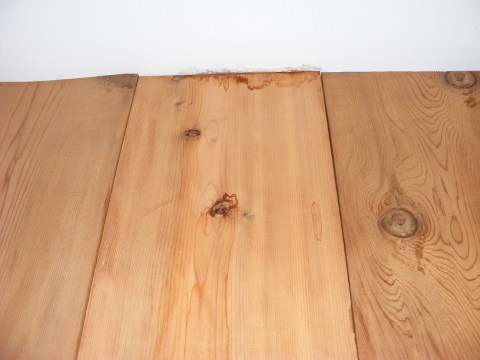
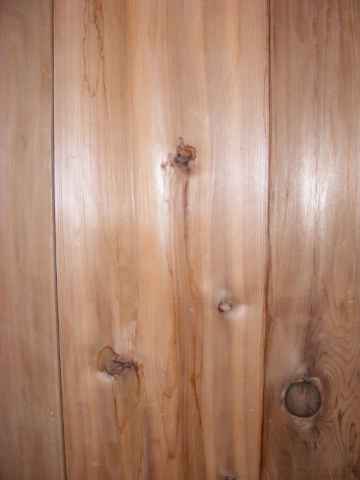
 6:30 Thursday morning.  The Tropical Storm seems to be done for now. You’re getting dressed for work, and you notice something new on the wall in your closet…  What are you gonna do?
Follow me as I discover, diagnose, and repair several types of roof leaks. Â These fixes can keep you dry until a new roof can be put on your home!
I was pretty surprised when I discovered some signs of water damage a few short months after I bought my new place. Â Even though I have worked in construction before and have a background in engineering, I’ve never repaired or replaced a roof.
I knew I had to stay calm. Â Still shaking off sleep from the night before, I started forming an idea of what to do. Â The water was coming through a knot in a cedar plank in my closet. Â First, I checked out the wall in the room on the other side of the closet. Â No sign of damage there.
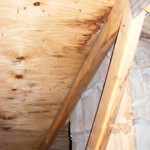
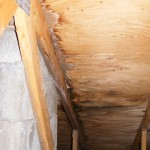
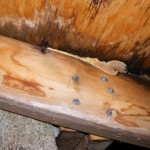
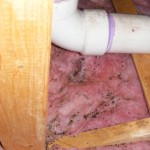
So I went up into the attic. Â I was greeted by this:
The water damage seemed to start at or near the top of the chimney and head down the roof at an angle of 45° away from the chimney.  The damage in the above pictures shows this based on the stains on the trusses.
Learning all this was a step in the right direction, but the actual source of the damage I observed was still about 15 feet away. Â Using an exterior wall as a starting place, I estimated the source of my leak to be directly under this guy:
 This is the vent stack for all of the waste lines in my home. Â The black PVC at the top of the picture exits through my roof. Â This is the most likely source of the leak.
The pipe in the bottom has a 90° elbow then heads for the shower and toilet.  The line on the left heads to the kitchen and washing machine.
More often than not, a leaky roof is due to some penetration in the roof. Â This could be a chimney, a vent pipe, fuel or furnace vents, an antenna mount, or any number of things. Â Essentially, if you’re poking a hole in your roof, you’re creating a potential leak site.
So what do you do about it?
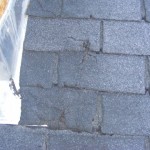
Once we got up on the roof, we were able to pinpoint the sources of the leaks pretty easily.  First, the flashing on the sides of the chimney was installed improperly.  You are supposed to use multiple pieces of flashing on a chimney, one for each series of shingles.  If you overlap the flashing and shingles correctly, it prevents water from making its way under the shingles at the top of the chimney and outward along the roof.
This poor flashing job resulted in damaged shingles, and nails working their way out due to frost. Â The vent stack wasn’t in much better shape. Â The gasket around the plumbing vent was cracked, letting water into the attic. Â The vent stacks around the fuel tank filler were in similar condition.
I was ready to buy a 5 gallon pail of roofing tar to attempt this repair.  My neighbor swore by Loctite PL Caulk.  He said he’d had good experience repairing shingles and flashing with it in the past.  He also uses it for masonry repairs.  I figure since this guy is a top notch mason, he knows what he’s talking about.
The pictures below show the types of repairs made with the black PL caulk:
With the major repairs done to the roof surface, we turned our attention to the stonework on the chimney. The concrete forms for the cap and crown had both cracked.
If water is allowed to travel down cracks like these in the winter, the expansion and contraction from freezing and thawing can cause pretty extensive damage to the chimney. Once the damage is identified, the water can be sealed out with PL caulk as shown in the pictures below:
And the finished product:
Good enough for after work. These repairs should hold me over until I can tear the shingles off, replace plywood, and re-shingle with the proper flashing.
Stay dry!

